> ## Documentation Index
> Fetch the complete documentation index at: https://docs.pylar.ai/llms.txt
> Use this file to discover all available pages before exploring further.
# SQL IDE Basics
> Learn how to use Pylar's built-in SQL IDE to query data sources, work with dataframes, and create views
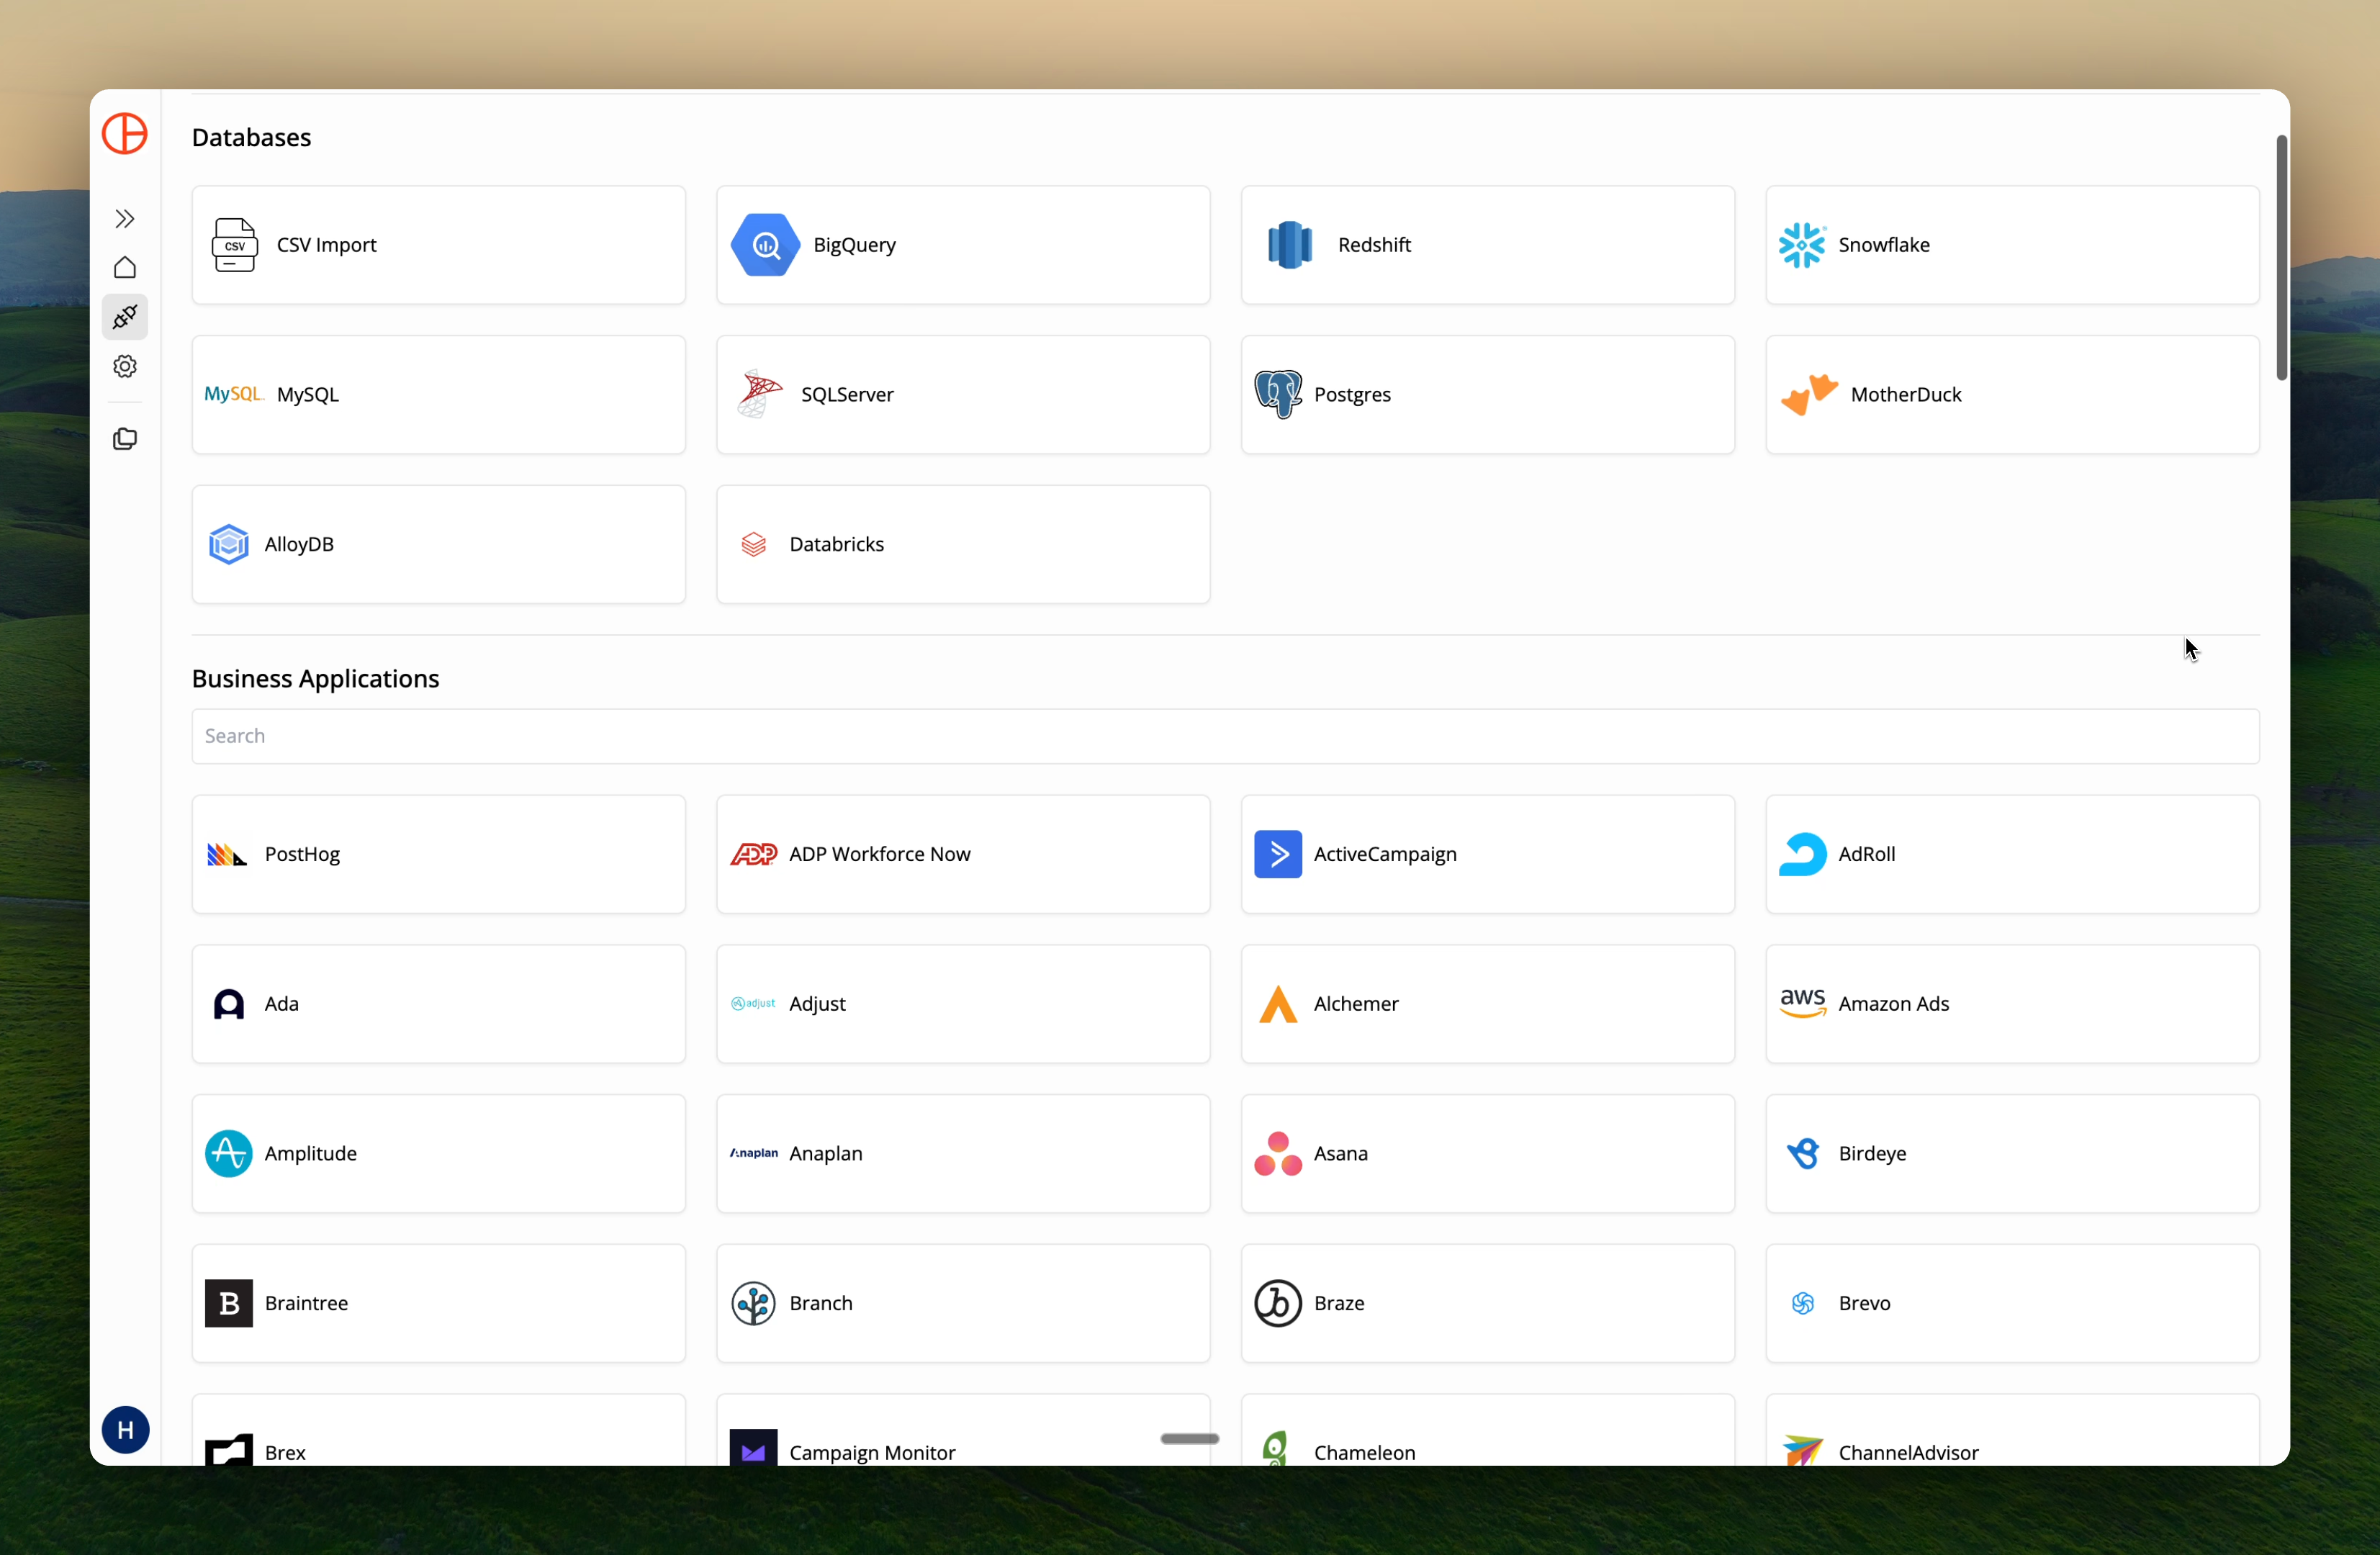
## Introduction to the SQL IDE
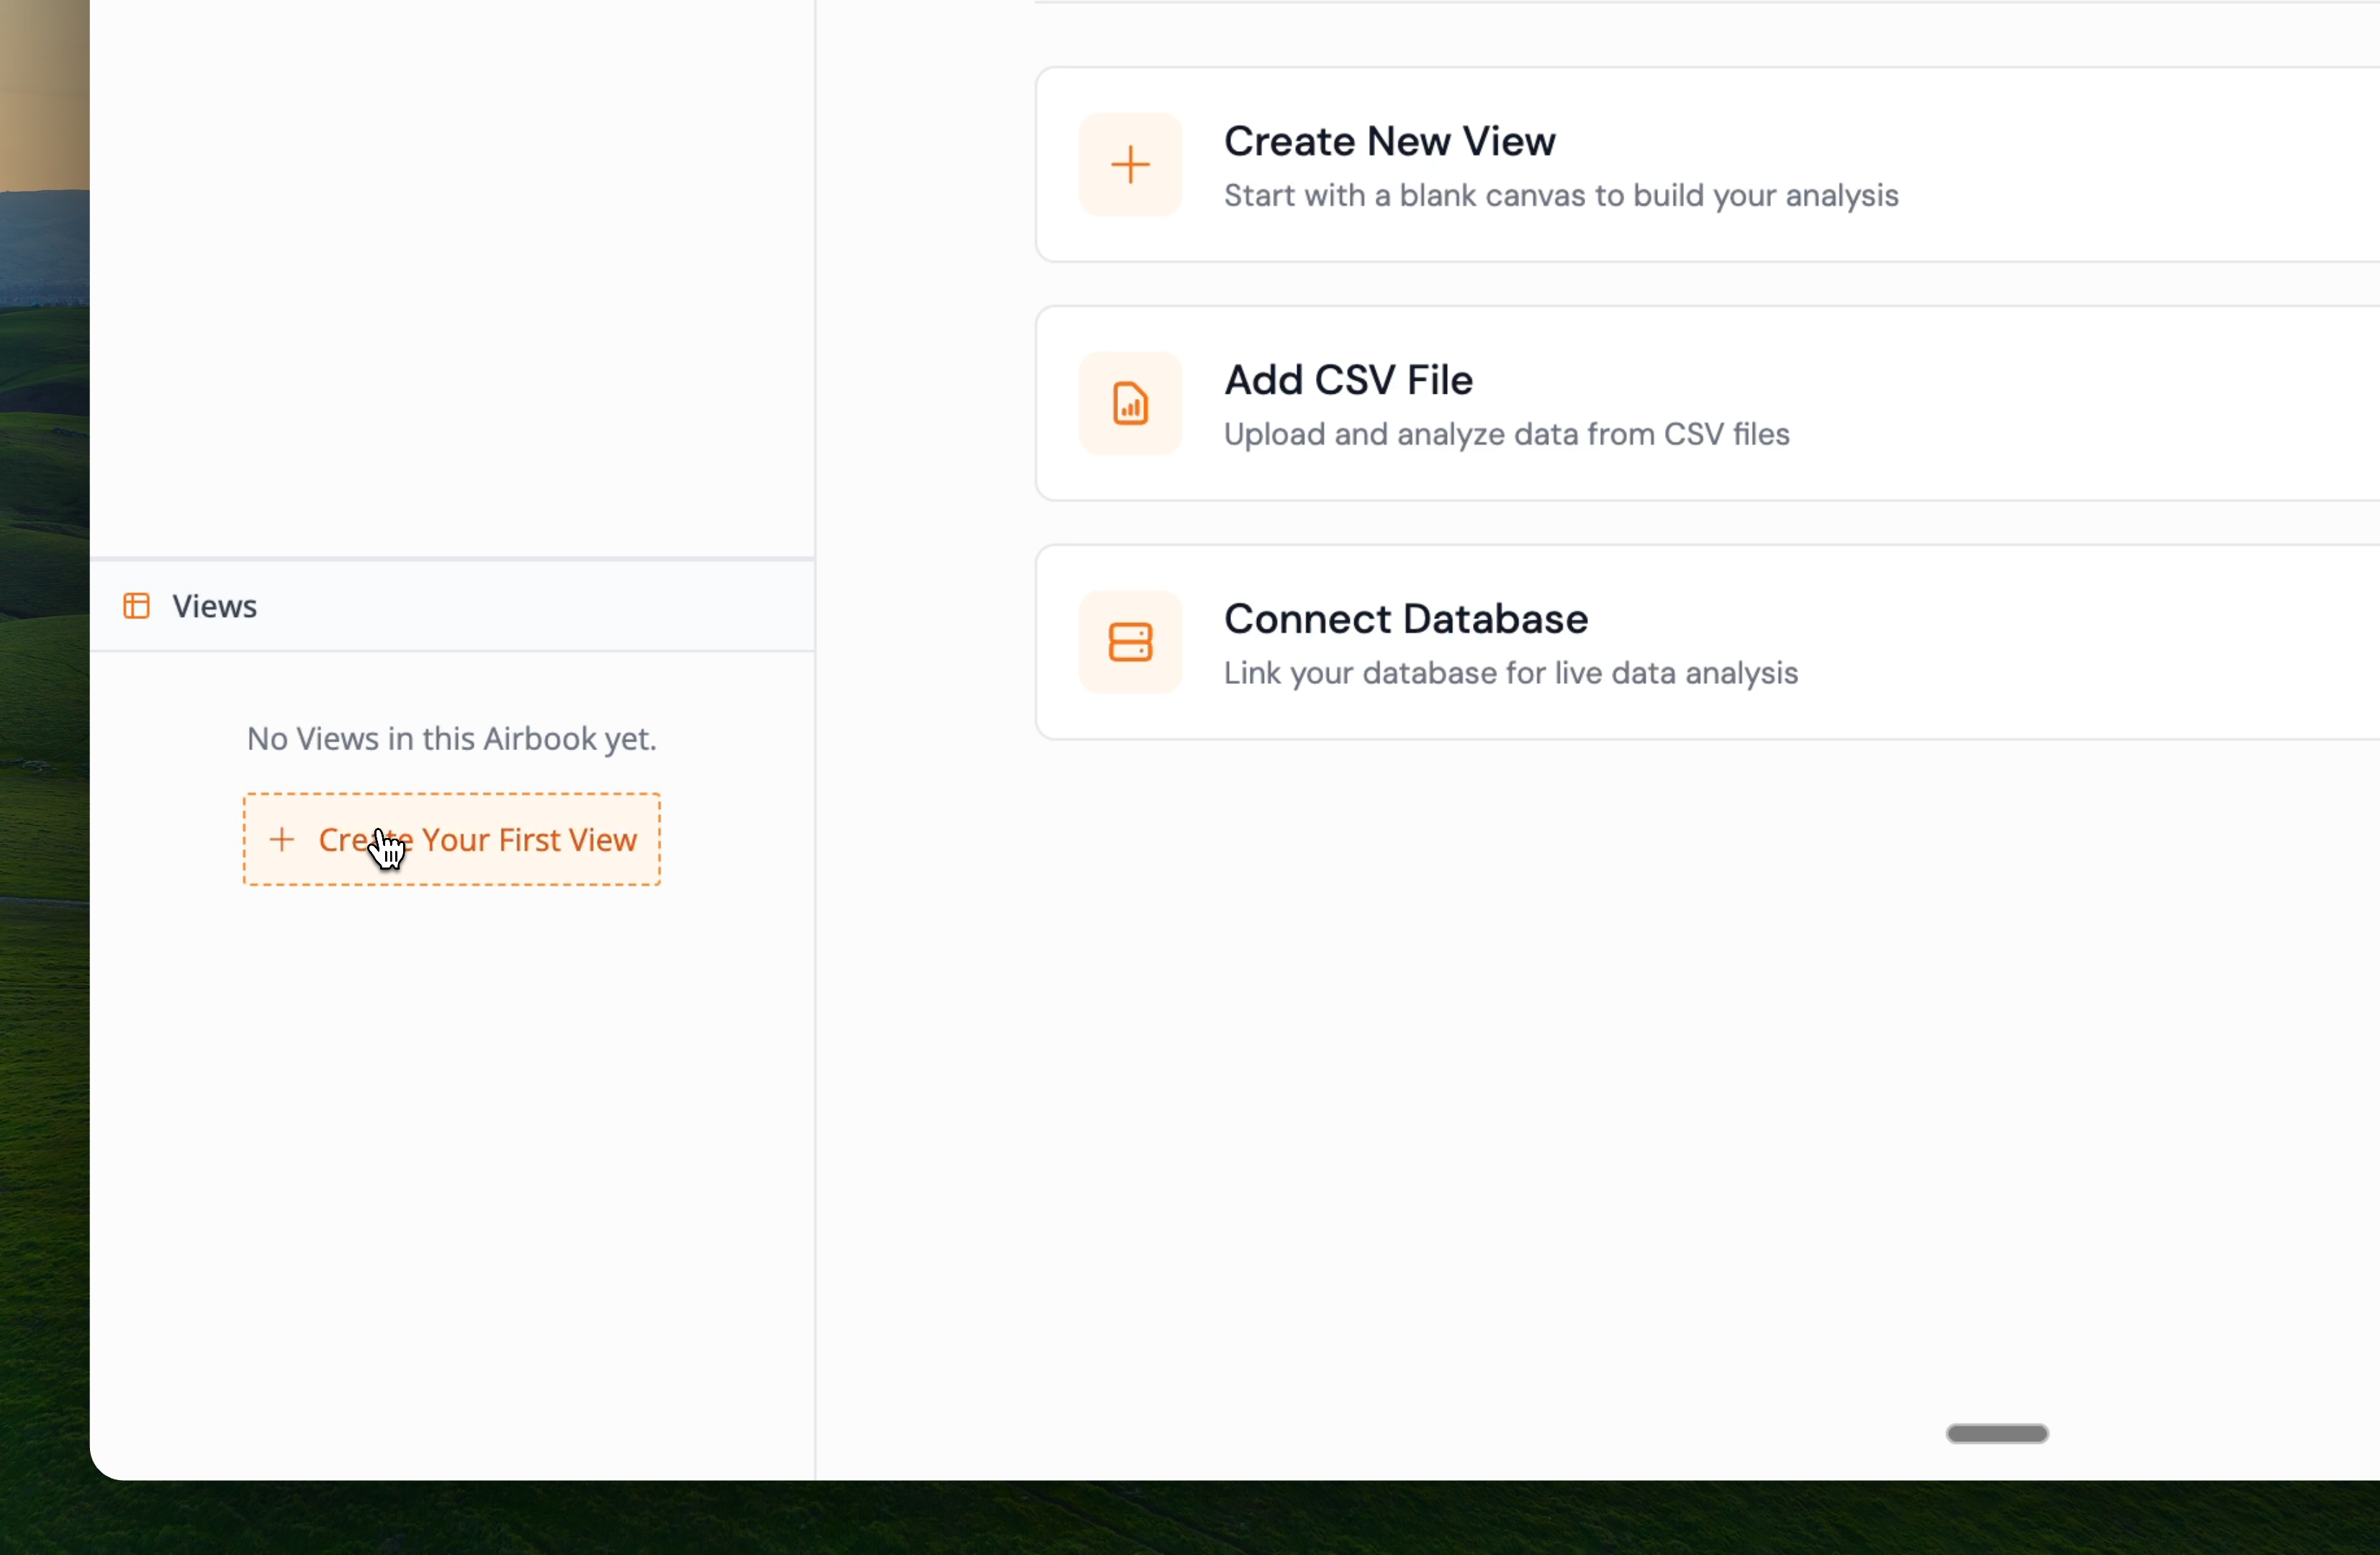
When you create a new view in Pylar, the **SQL IDE** (Integrated Development Environment) appears in the center of your screen. This powerful editor provides everything you need to write, test, and refine SQL queries before saving them as views.
## The SQL IDE Interface
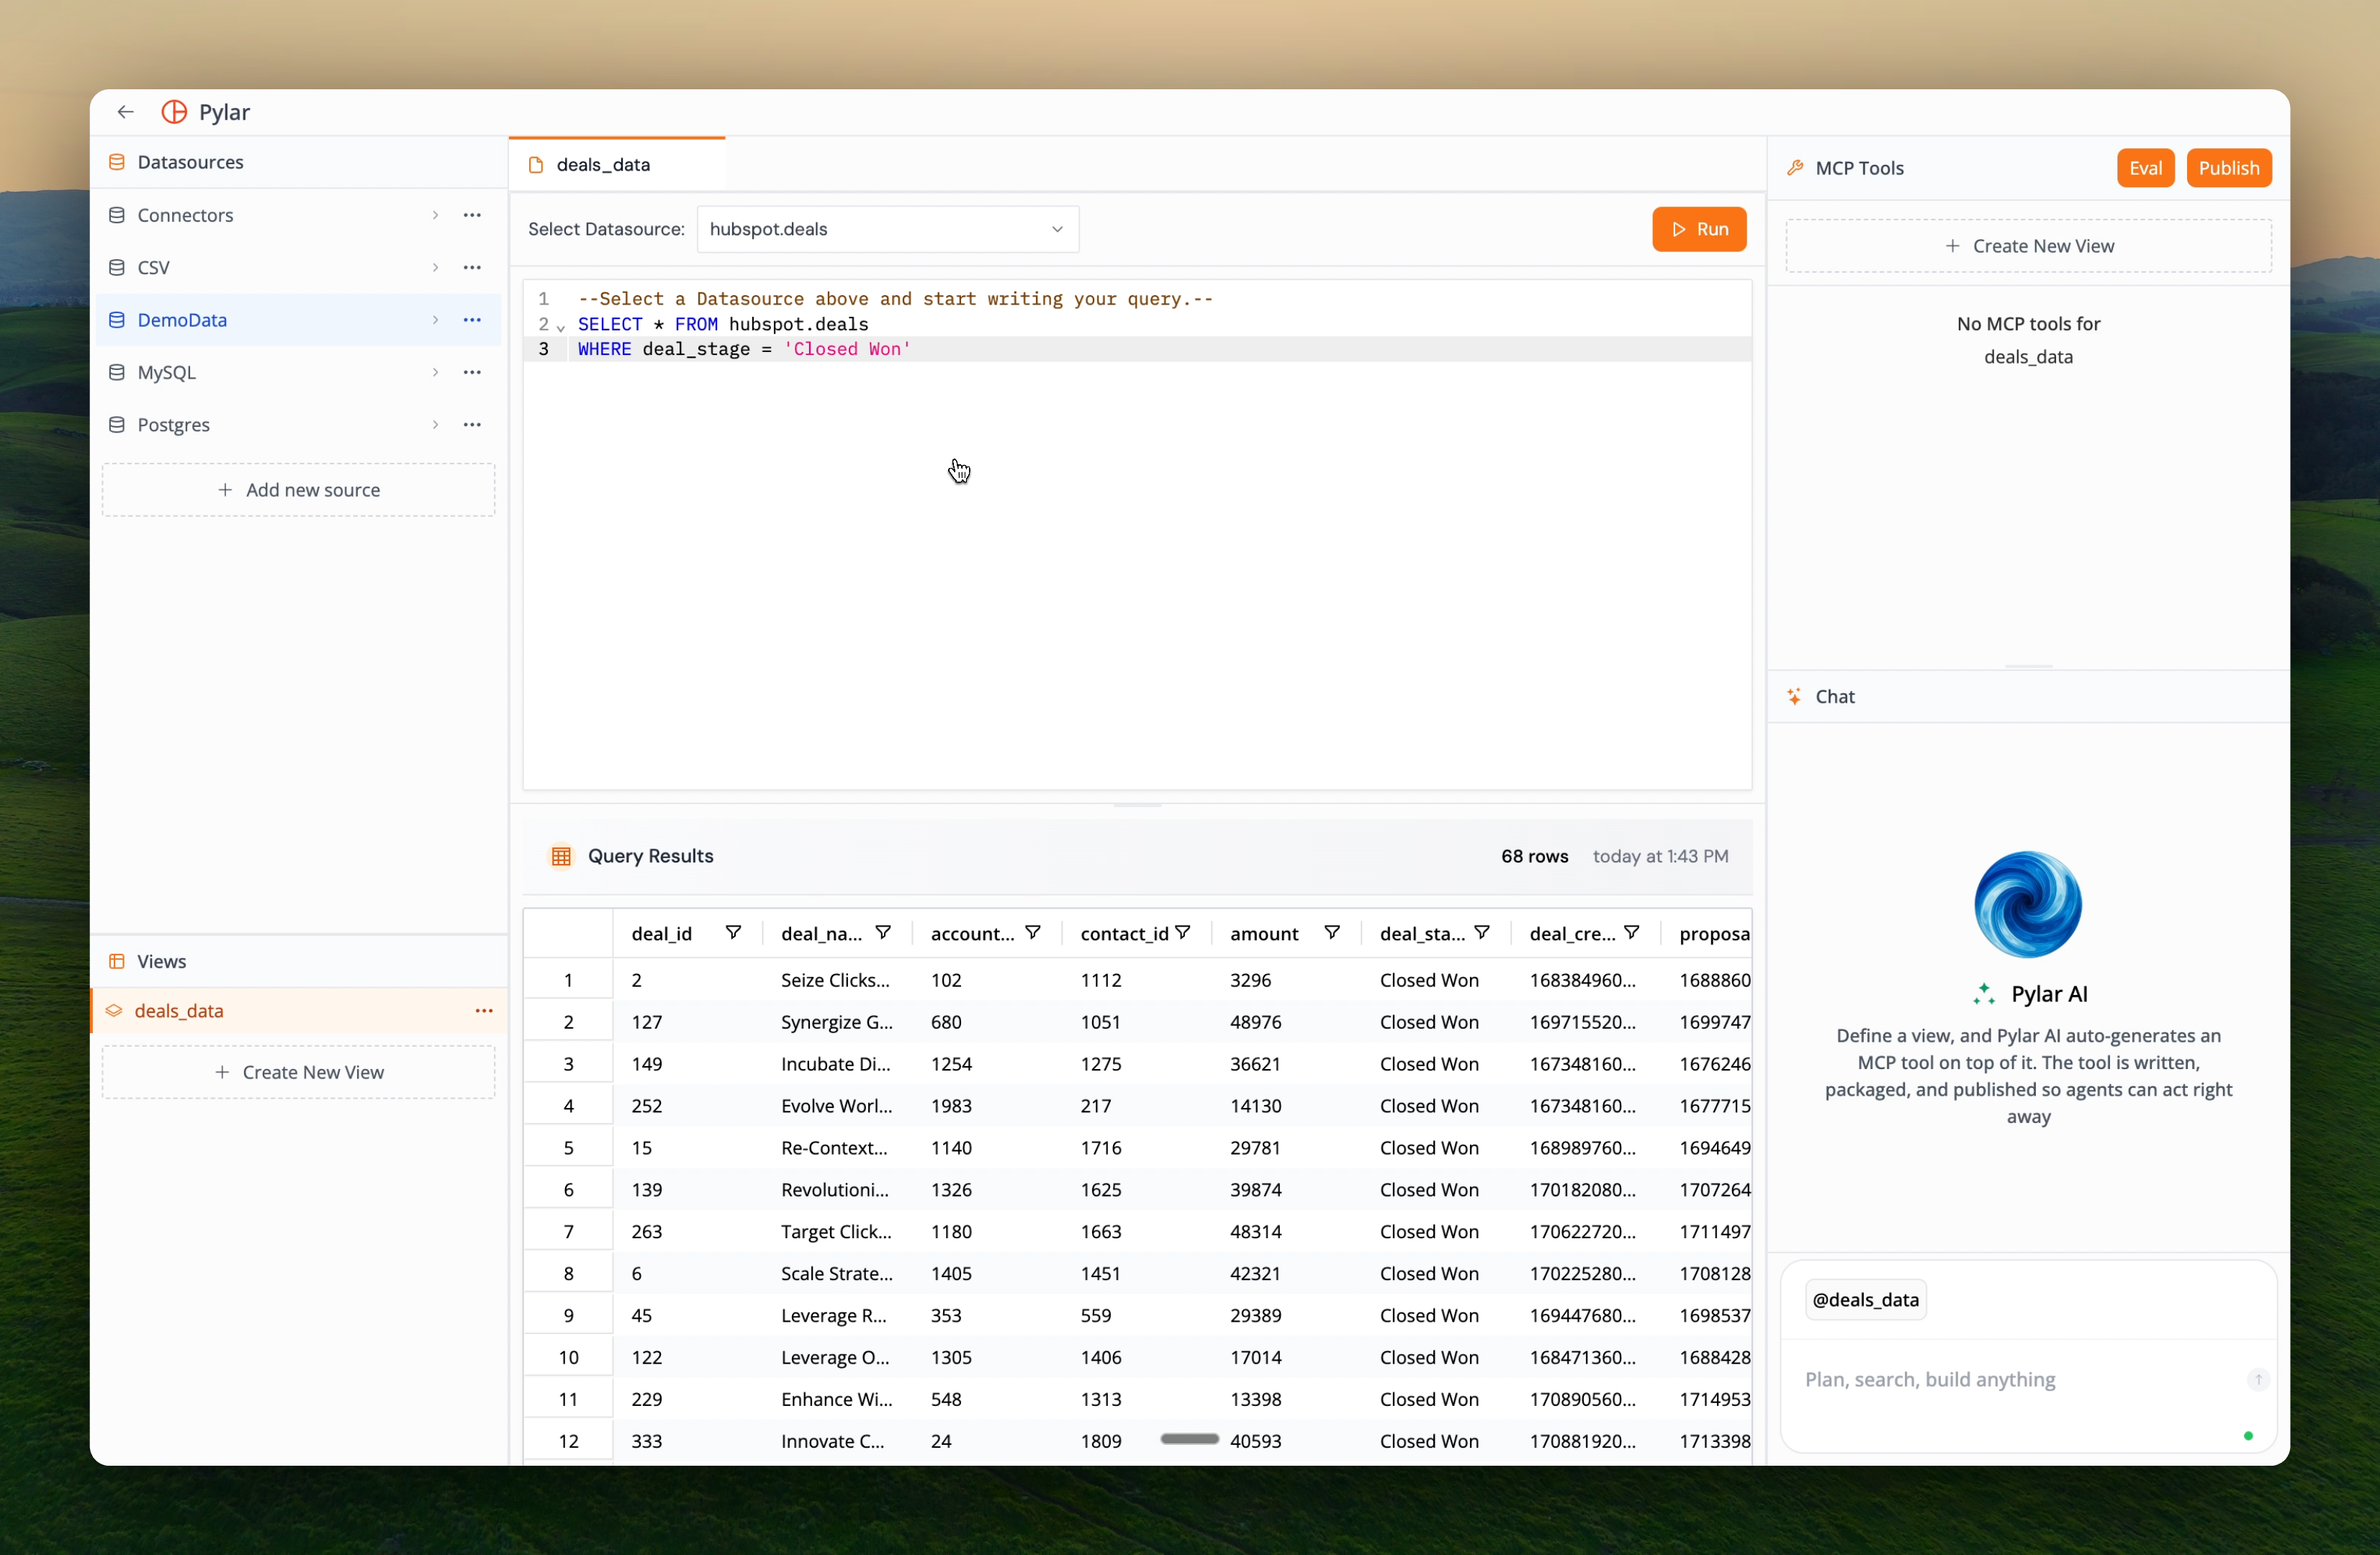
The SQL IDE is designed for efficiency and ease of use:
 ### Key Components
* **Datasource Selector**: Dropdown menu to select your data source
* **SQL Query Editor**: Main editing area for writing queries
* **Run Query Button**: Executes your query and displays results
* **Query Results Panel**: Shows query output, row counts, and execution metadata
## Selecting a Data Source
Before writing your query, you must select which data source to query.
### Step-by-Step
1. Locate the **"Select Datasource"** dropdown above the SQL IDE
2. Click the dropdown to reveal all available data sources
3. Choose your desired data source:
* Connected databases (BigQuery, Snowflake, PostgreSQL, etc.)
* **Local Dataframes** (for querying dataframes in your session)
4. If needed, navigate to the specific database, schema, or table within that source
The dropdown dynamically shows all active connections. Ensure your database connection is established and active before selecting it.
## Writing Your Query
Once you've selected a data source, replace the default query template with your SQL query.
### Basic Query Example
```sql theme={null}
SELECT
customer_id,
customer_name,
email,
created_at
FROM customers
WHERE is_active = true
ORDER BY created_at DESC;
```
### Query Editor Features
Pylar's SQL IDE includes:
* **Syntax Highlighting**: Color-coded SQL keywords and identifiers
* **Auto-completion**: Intelligent suggestions for table and column names
* **Error Detection**: Visual indicators for syntax errors
* **Query Formatting**: Clean, readable code structure
## Running Your Query
Execute your query to see results and verify it works correctly.
### Key Components
* **Datasource Selector**: Dropdown menu to select your data source
* **SQL Query Editor**: Main editing area for writing queries
* **Run Query Button**: Executes your query and displays results
* **Query Results Panel**: Shows query output, row counts, and execution metadata
## Selecting a Data Source
Before writing your query, you must select which data source to query.
### Step-by-Step
1. Locate the **"Select Datasource"** dropdown above the SQL IDE
2. Click the dropdown to reveal all available data sources
3. Choose your desired data source:
* Connected databases (BigQuery, Snowflake, PostgreSQL, etc.)
* **Local Dataframes** (for querying dataframes in your session)
4. If needed, navigate to the specific database, schema, or table within that source
The dropdown dynamically shows all active connections. Ensure your database connection is established and active before selecting it.
## Writing Your Query
Once you've selected a data source, replace the default query template with your SQL query.
### Basic Query Example
```sql theme={null}
SELECT
customer_id,
customer_name,
email,
created_at
FROM customers
WHERE is_active = true
ORDER BY created_at DESC;
```
### Query Editor Features
Pylar's SQL IDE includes:
* **Syntax Highlighting**: Color-coded SQL keywords and identifiers
* **Auto-completion**: Intelligent suggestions for table and column names
* **Error Detection**: Visual indicators for syntax errors
* **Query Formatting**: Clean, readable code structure
## Running Your Query
Execute your query to see results and verify it works correctly.
 ### Execution Steps
1. **Review Your Query**: Double-check your SQL for accuracy
2. **Click "Run Query"**: Located in the top right of the center screen
3. **Wait for Execution**: A loader appears in the results section below the IDE
4. **View Results**: Once complete, results appear in the Query Results section
The loader indicator shows that Pylar is processing your query. For large datasets, this may take a few moments.
## Understanding Query Results
When your query executes successfully, the results panel displays comprehensive information.
### Execution Steps
1. **Review Your Query**: Double-check your SQL for accuracy
2. **Click "Run Query"**: Located in the top right of the center screen
3. **Wait for Execution**: A loader appears in the results section below the IDE
4. **View Results**: Once complete, results appear in the Query Results section
The loader indicator shows that Pylar is processing your query. For large datasets, this may take a few moments.
## Understanding Query Results
When your query executes successfully, the results panel displays comprehensive information.
 ### Results Panel Contents
* **Data Table**: Tabular view of your query results
* Scrollable for large result sets
* Column headers for easy reference
* Formatted data for readability
* **Row Count**: Total number of rows returned by the query
* **Last Run Time**: Timestamp showing when the query was executed
* **Execution Metadata**: Additional details about query performance
The results table is interactive—you can scroll, sort columns, and explore your data directly in the IDE.
## Best Practices
### Query Development
* \*\*Start with SELECT \*\*\*: Begin by viewing all columns, then refine to specific columns
* **Test Incrementally**: Add filters, joins, and aggregations one step at a time
* **Use LIMIT**: When exploring large datasets, use `LIMIT` to speed up testing
* **Verify Results**: Always check row counts and sample data before finalizing
### Performance Optimization
* **Filter Early**: Apply `WHERE` clauses before joins to reduce data volume
* **Select Specific Columns**: Avoid `SELECT *` in production views when possible
* **Monitor Execution Time**: Pay attention to query performance during testing
## Next Steps
Now that you understand the SQL IDE basics:
* [Cross-Database Joins](/learn/creating-data-views/cross-database-joins) - Learn how to query and join data across multiple sources
* [Writing Your First View](/learn/creating-data-views/writing-your-first-view) - Create a comprehensive view joining data across multiple sources
* [View Best Practices](/learn/creating-data-views/view-best-practices) - Optimize your views for performance and maintainability
Learn how to join data across multiple databases and dataframes
### Results Panel Contents
* **Data Table**: Tabular view of your query results
* Scrollable for large result sets
* Column headers for easy reference
* Formatted data for readability
* **Row Count**: Total number of rows returned by the query
* **Last Run Time**: Timestamp showing when the query was executed
* **Execution Metadata**: Additional details about query performance
The results table is interactive—you can scroll, sort columns, and explore your data directly in the IDE.
## Best Practices
### Query Development
* \*\*Start with SELECT \*\*\*: Begin by viewing all columns, then refine to specific columns
* **Test Incrementally**: Add filters, joins, and aggregations one step at a time
* **Use LIMIT**: When exploring large datasets, use `LIMIT` to speed up testing
* **Verify Results**: Always check row counts and sample data before finalizing
### Performance Optimization
* **Filter Early**: Apply `WHERE` clauses before joins to reduce data volume
* **Select Specific Columns**: Avoid `SELECT *` in production views when possible
* **Monitor Execution Time**: Pay attention to query performance during testing
## Next Steps
Now that you understand the SQL IDE basics:
* [Cross-Database Joins](/learn/creating-data-views/cross-database-joins) - Learn how to query and join data across multiple sources
* [Writing Your First View](/learn/creating-data-views/writing-your-first-view) - Create a comprehensive view joining data across multiple sources
* [View Best Practices](/learn/creating-data-views/view-best-practices) - Optimize your views for performance and maintainability
Learn how to join data across multiple databases and dataframes