> ## Documentation Index
> Fetch the complete documentation index at: https://docs.pylar.ai/llms.txt
> Use this file to discover all available pages before exploring further.
# Connecting MotherDuck
> Step-by-step guide to connecting your MotherDuck serverless analytics platform to Pylar
## Overview
Connecting Pylar to MotherDuck allows you to access and analyze your MotherDuck data directly from Pylar. MotherDuck is a serverless analytics platform, and connecting it to Pylar enables seamless data querying and analysis.
## Prerequisites
* ✅ Pylar account with Analyst role or higher
* ✅ MotherDuck account
* ✅ Access to MotherDuck service token
## Step 1: Log in to MotherDuck
1. Start by logging into your **MotherDuck account**
2. Ensure you have access to account settings
## Step 2: Retrieve Service Token
1. Once logged in, click on your **username** in the upper right corner
2. Go to **"Settings"**
3. You will see a **service token** displayed
4. **Copy this token**—you'll need it to authenticate the connection with Pylar
Keep your service token secure. It provides access to your MotherDuck data. Never share it publicly or commit it to version control.
## Step 3: Navigate to Pylar Connections
1. Switch to your Pylar workspace
2. Click on the **"Connections"** tab located in the sidebar
3. You'll see the list of available data sources
## Step 4: Select MotherDuck Connector
From the list of available data sources, select **"MotherDuck"**.
The connection setup screen will open.
## Step 5: Paste the Service Token
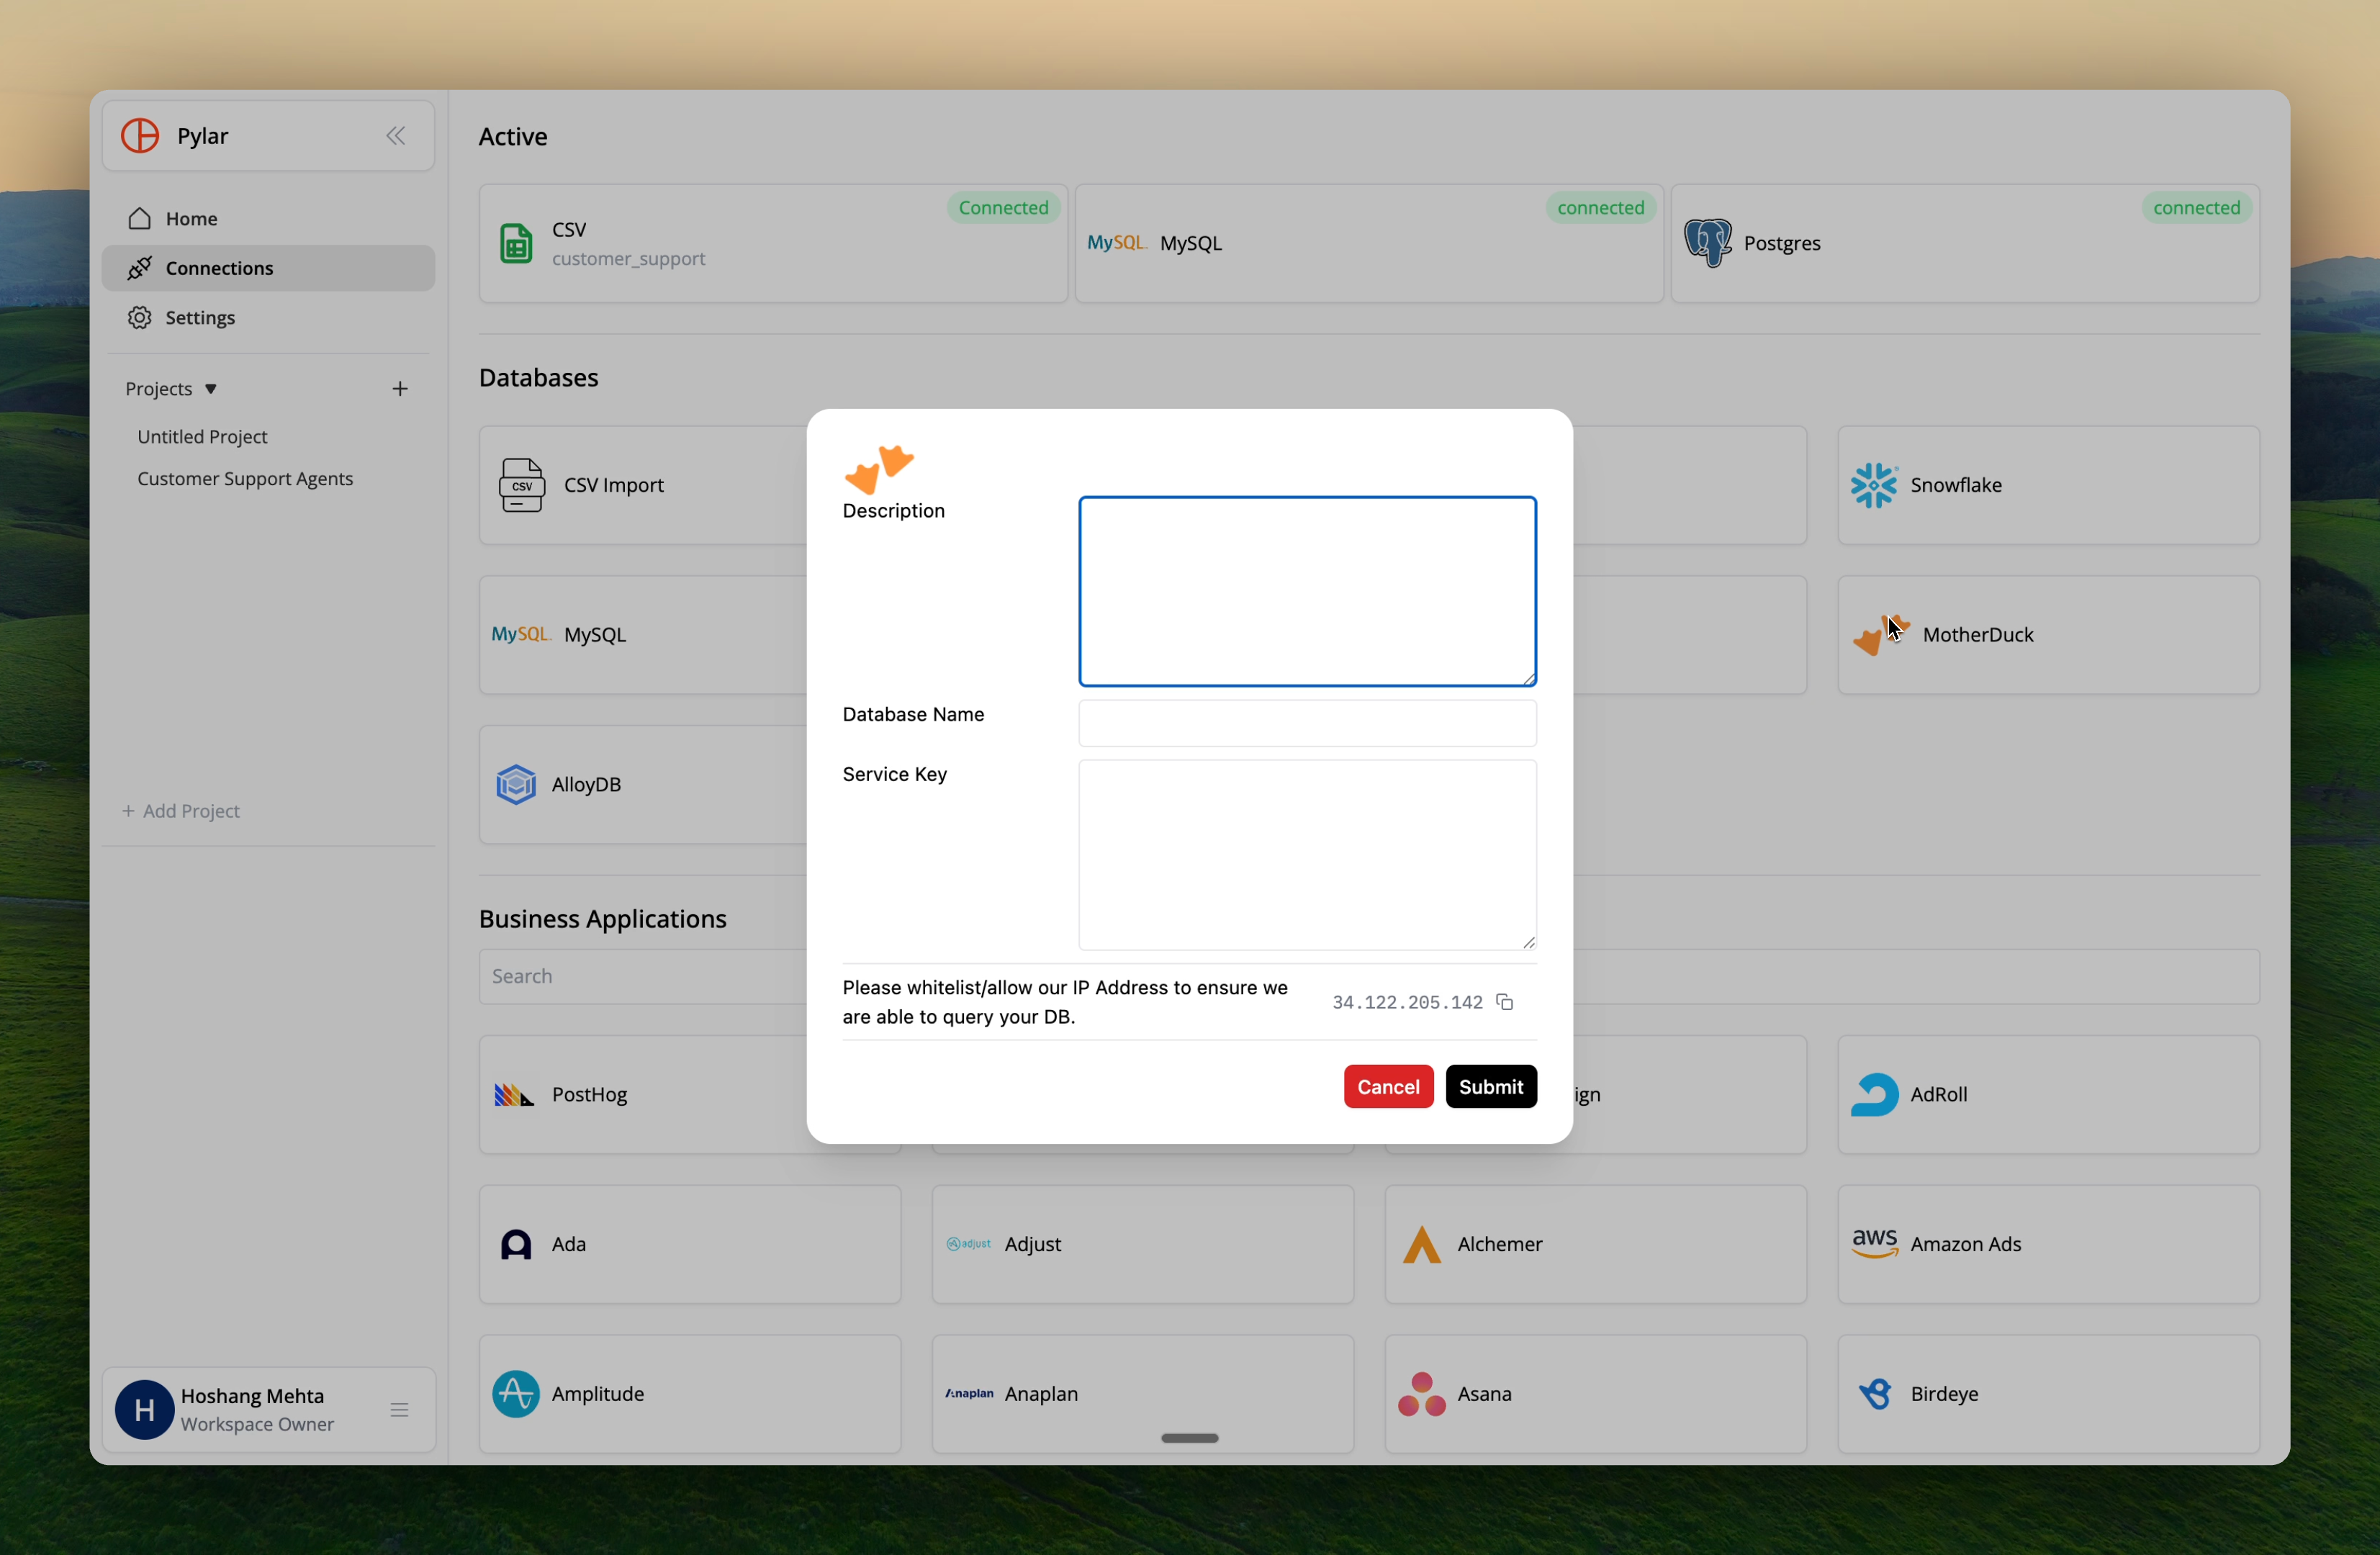 1. You will be prompted to enter your service token
2. **Paste the token** you copied from MotherDuck into the provided field
3. Double-check that the token is complete and correct
The service token is a long string. Make sure you copy the entire token without any truncation.
## Step 6: Confirm the Connection
1. After pasting the service token, click on the **"Confirm"** button
2. Pylar will validate the token and establish the connection
## Step 7: Verify Connection
1. You should now see that your MotherDuck account is connected to Pylar
2. The connection will appear in your connections list
## Querying Data from MotherDuck
Once connected, querying data is simple:
### Step 1: Go to Query Section
1. Navigate to the query section in your Pylar workspace
2. Open the SQL IDE
### Step 2: Run a Query
Enter your SQL query to fetch data from MotherDuck:
```sql theme={null}
SELECT *
FROM motherduck_connection.database.table_name
WHERE condition = 'value';
```
Reference your connection using the schema name you provided during setup.
### Step 3: View Results
Your query results will be displayed, showing how easy it is to access and analyze data from MotherDuck within Pylar.
## Troubleshooting
### Issue: "Invalid token" error
**Solutions**:
* Verify you copied the complete service token
* Check for any extra spaces or characters
* Ensure token hasn't expired (regenerate if needed)
* Verify token has necessary permissions
### Issue: Connection fails
**Solutions**:
* Double-check service token is correct
* Regenerate token in MotherDuck if needed
* Verify MotherDuck account is active
* Check network connectivity
### Issue: Data not appearing
**Solutions**:
* Wait for indexing to complete
* Verify database and table names are correct
* Check service token has access to the data
* Review MotherDuck permissions
## Best Practices
### Token Security
* ✅ Keep service token secure
* ✅ Regenerate token if compromised
* ✅ Use dedicated tokens for Pylar
* ✅ Monitor token usage in MotherDuck
### Connection Naming
* ✅ Use descriptive names: `motherduck_prod`, `motherduck_analytics`
* ✅ Include environment information
* ✅ Be consistent across your workspace
## Next Steps
Now that MotherDuck is connected:
* [Creating Data Views](/learn/creating-data-views/overview) - Create views using MotherDuck data
* [Cross-Database Joins](/learn/creating-data-views/cross-database-joins) - Join MotherDuck with other sources
* [Connection Security](/learn/making-connections/connection-security) - Secure your connections
Use your MotherDuck connection to create data views
1. You will be prompted to enter your service token
2. **Paste the token** you copied from MotherDuck into the provided field
3. Double-check that the token is complete and correct
The service token is a long string. Make sure you copy the entire token without any truncation.
## Step 6: Confirm the Connection
1. After pasting the service token, click on the **"Confirm"** button
2. Pylar will validate the token and establish the connection
## Step 7: Verify Connection
1. You should now see that your MotherDuck account is connected to Pylar
2. The connection will appear in your connections list
## Querying Data from MotherDuck
Once connected, querying data is simple:
### Step 1: Go to Query Section
1. Navigate to the query section in your Pylar workspace
2. Open the SQL IDE
### Step 2: Run a Query
Enter your SQL query to fetch data from MotherDuck:
```sql theme={null}
SELECT *
FROM motherduck_connection.database.table_name
WHERE condition = 'value';
```
Reference your connection using the schema name you provided during setup.
### Step 3: View Results
Your query results will be displayed, showing how easy it is to access and analyze data from MotherDuck within Pylar.
## Troubleshooting
### Issue: "Invalid token" error
**Solutions**:
* Verify you copied the complete service token
* Check for any extra spaces or characters
* Ensure token hasn't expired (regenerate if needed)
* Verify token has necessary permissions
### Issue: Connection fails
**Solutions**:
* Double-check service token is correct
* Regenerate token in MotherDuck if needed
* Verify MotherDuck account is active
* Check network connectivity
### Issue: Data not appearing
**Solutions**:
* Wait for indexing to complete
* Verify database and table names are correct
* Check service token has access to the data
* Review MotherDuck permissions
## Best Practices
### Token Security
* ✅ Keep service token secure
* ✅ Regenerate token if compromised
* ✅ Use dedicated tokens for Pylar
* ✅ Monitor token usage in MotherDuck
### Connection Naming
* ✅ Use descriptive names: `motherduck_prod`, `motherduck_analytics`
* ✅ Include environment information
* ✅ Be consistent across your workspace
## Next Steps
Now that MotherDuck is connected:
* [Creating Data Views](/learn/creating-data-views/overview) - Create views using MotherDuck data
* [Cross-Database Joins](/learn/creating-data-views/cross-database-joins) - Join MotherDuck with other sources
* [Connection Security](/learn/making-connections/connection-security) - Secure your connections
Use your MotherDuck connection to create data views