Overview
Pylar’s AI makes creating MCP tools effortless. Simply describe what you want in natural language, and the AI generates a complete, ready-to-use tool for you. This guide walks you through creating your first AI-generated tool.Prerequisites
Before creating a tool, ensure you have:- ✅ A view created in your project
- ✅ The view selected in the right sidebar
- ✅ Access to Pylar AI (available in the right sidebar)
The Pylar AI assistant is always available in the right sidebar. It understands your data structure and can generate tools tailored to your views.
Step 1: Select Your View
Before asking the AI to create a tool, you need to select the view you want to build the tool on.- Navigate to your project
- Find the view you want to use
- Select the view in the right sidebar - Make sure it’s highlighted/selected
Step 2: Ask the AI to Create a Tool
Once your view is selected, use the Pylar AI to create your tool.Using Natural Language
In the right sidebar, you’ll see the Pylar AI. Simply describe what you want the tool to do in plain English.Example Request
Let’s create an MCP tool that returns engagement scores for a given event type: Ask the AI: “Create an MCP tool to compute the engagement score for a given event type”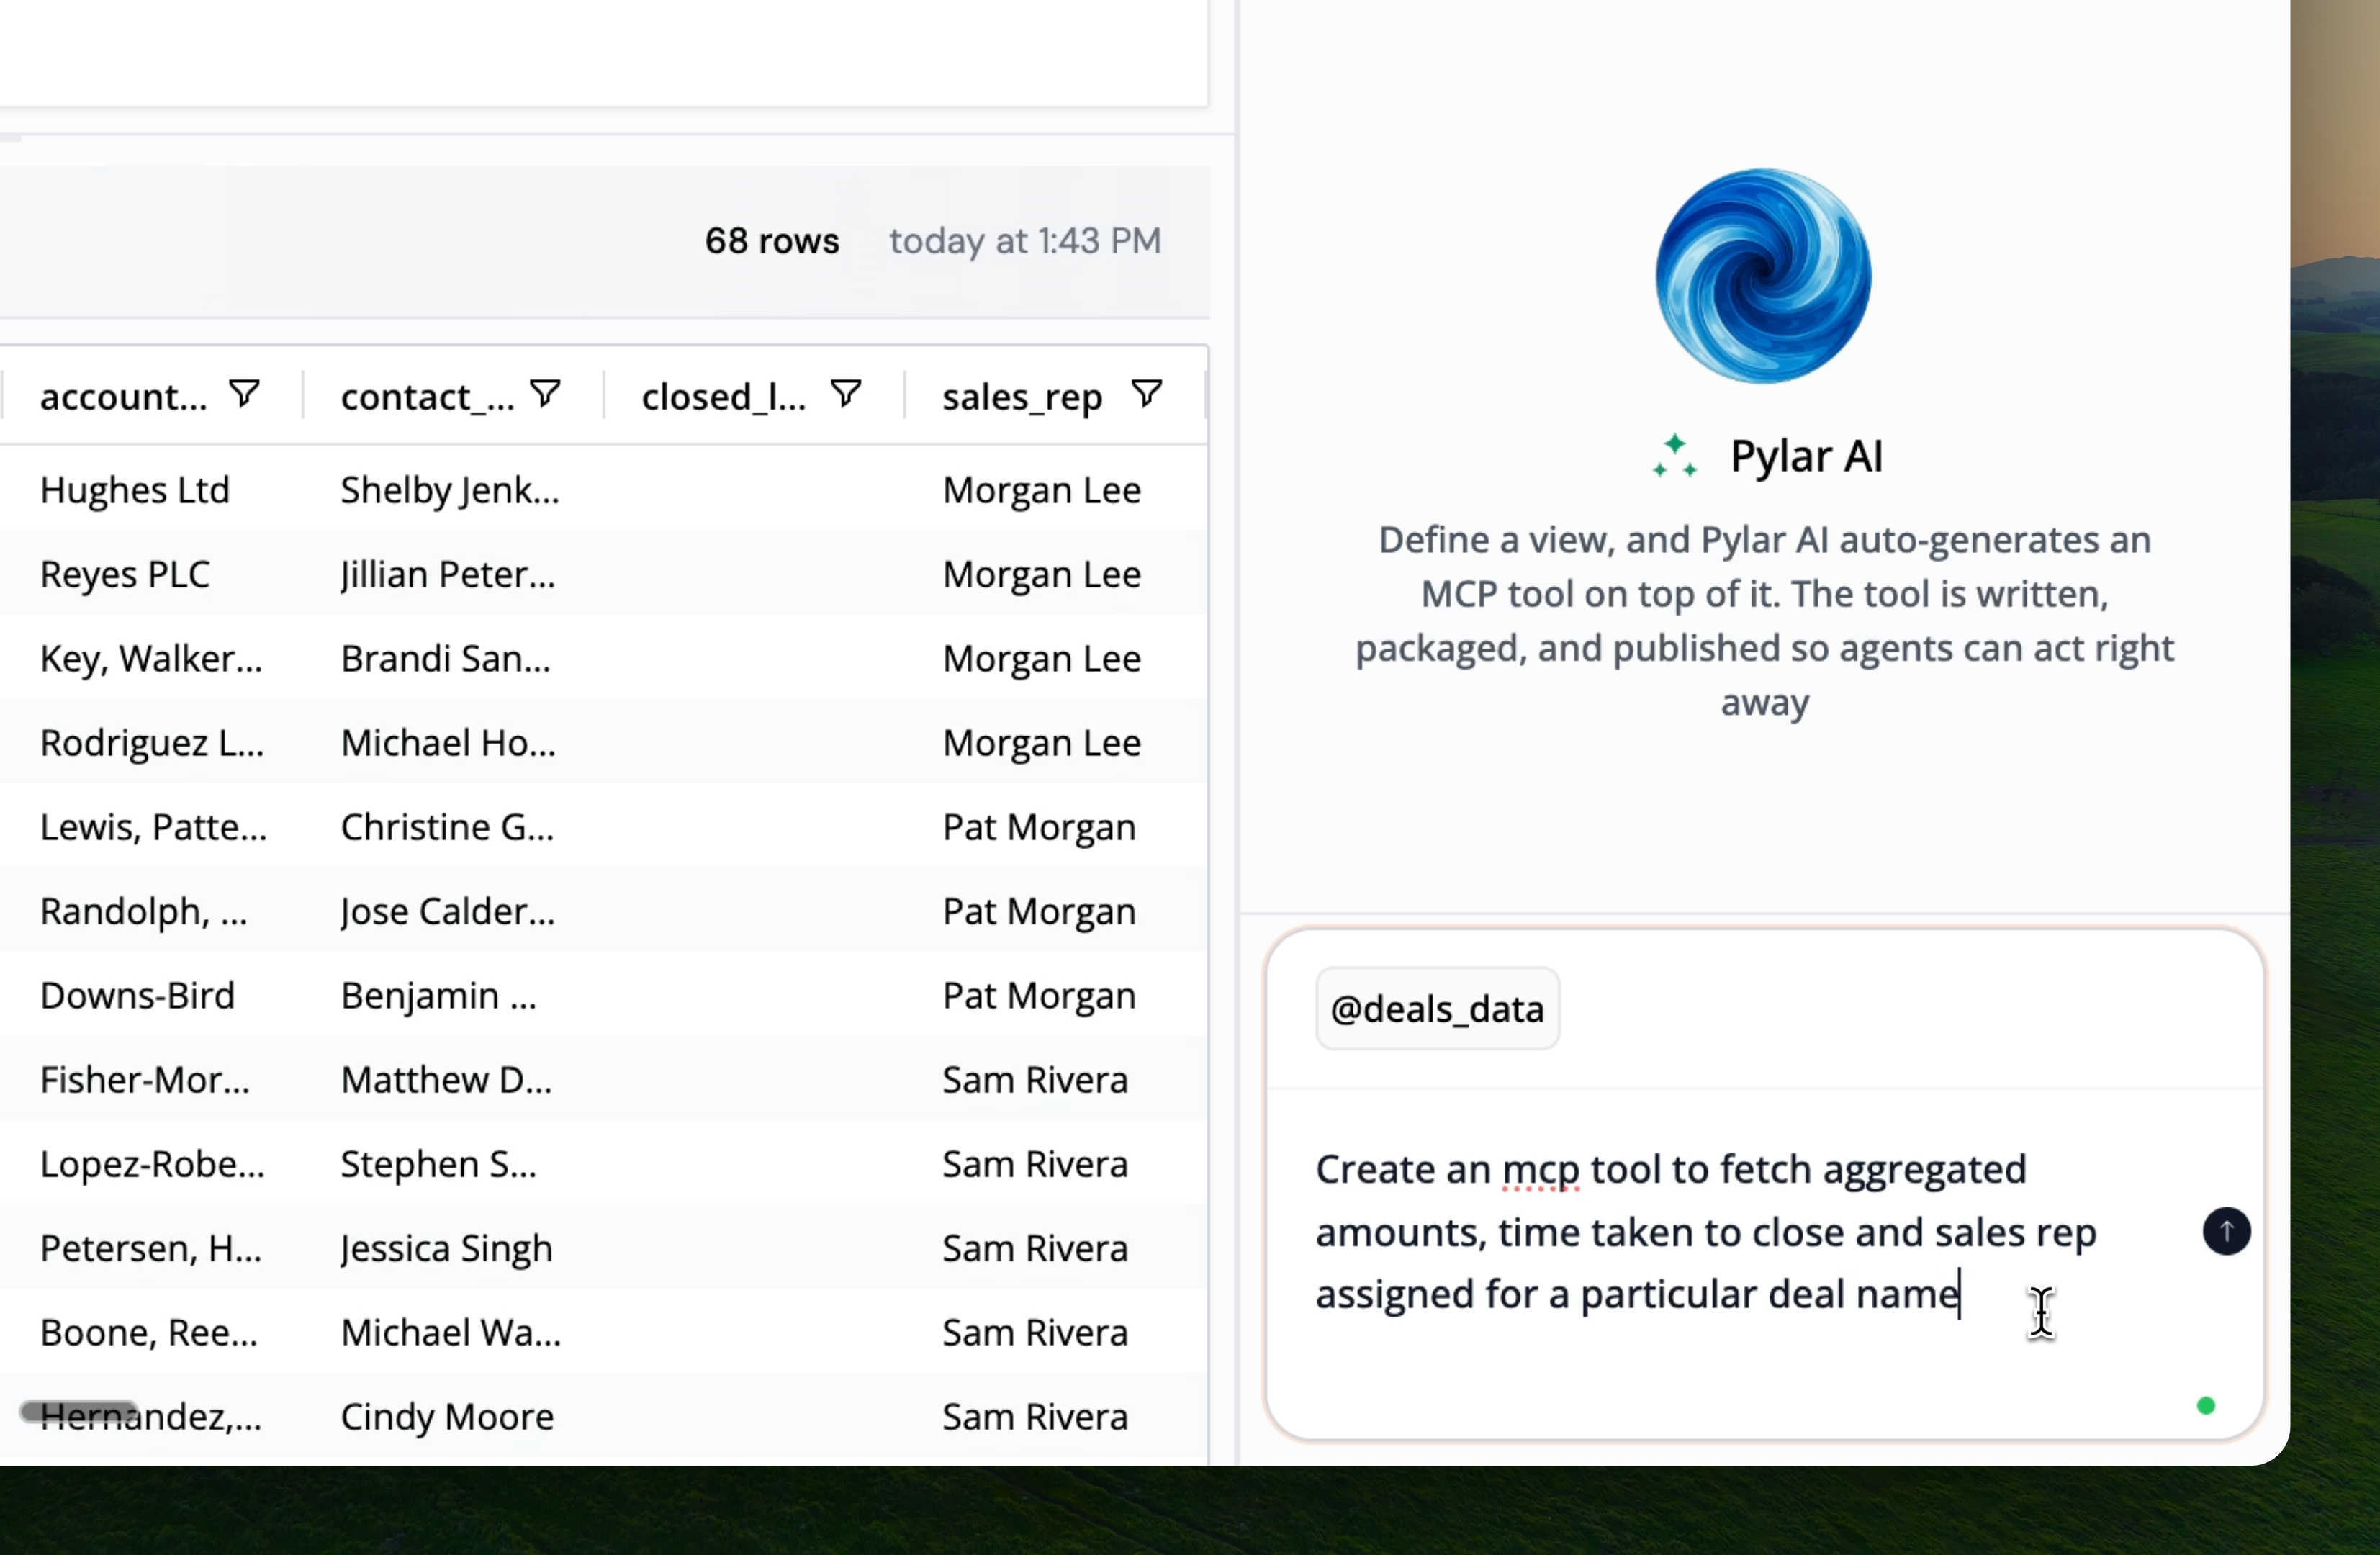
What the AI Does
When you submit your request, the AI:- Analyzes Your View: Understands the structure of your selected view
- Interprets Your Request: Understands what you want the tool to do
- Generates SQL Query: Creates a SQL query tailored to your use case
- Defines Parameters: Identifies what inputs the tool needs
- Creates Tool Structure: Builds the complete MCP tool configuration
The AI generates a complete, production-ready tool. You can use it as-is or refine it further.
Step 3: Review the Generated Tool
Once the AI finishes generating, your new tool appears in the “MCP Tools” section of the right sidebar.What You’ll See
The AI-generated tool includes:- Function Name: A descriptive name for the tool
- Description: What the tool does (used by agents)
- SQL Query: The query that retrieves data
- Parameters: Inputs the tool accepts
- Tool Call Arguments: Test values for verification
Example Generated Tool
For our engagement score example, the AI might generate:- Function Name:
fetch_engagement_scores_by_event_type - Description: “Fetches engagement scores and related data filtered by event type”
- SQL Query:
- Parameter:
event_type(string, required)
Understanding the Generated Query
The AI-generated SQL query is tailored to your request:Query Structure
- Selects
engagement_scorefrom your view (table0) - Filters by
event_typeusing a LIKE pattern match - Uses
{event_type}as a parameter placeholder - Orders results by engagement score (highest first)
Parameter Injection
When an agent calls this tool:- Agent provides:
event_type = "login" - Query becomes:
WHERE event_type LIKE '%login%' - Returns: All engagement scores for login events
The
LIKE '%{event_type}%' pattern allows partial matching. This means searching for “log” will match “login”, “logout”, etc.Refining AI-Generated Tools
The AI creates a solid foundation, but you can refine it:Common Refinements
- Adjust Query Logic: Modify the SQL to better match your needs
- Add Filters: Include additional WHERE conditions
- Change Parameters: Add or remove parameters
- Update Description: Make it clearer for agents
- Rename Function: Use a more descriptive name
Best Practices for AI Prompts
Write Clear Requests
Good Examples:- “Create an MCP tool to get customer revenue for a specific date range”
- “Build a tool that returns top products by sales in a given category”
- “Make a tool to find customers with high engagement scores”
- ❌ “Make a tool” (too vague)
- ❌ “Get data” (not specific enough)
- ❌ “Something for customers” (unclear purpose)
Include Key Details
Mention:- What data you want (engagement scores, revenue, etc.)
- How to filter (by event type, date range, customer ID, etc.)
- How to sort (highest first, most recent, etc.)
Examples of Effective Prompts
Example 1: Filtering by Date “Create an MCP tool to get sales data for a specific date range, ordered by amount descending” Example 2: Multiple Filters “Build a tool that returns customer information filtered by region and account type” Example 3: Aggregations “Create a tool to calculate average order value for a given product category”Next Steps
Now that your tool is created:- Understanding Tool Structure - Learn about all tool components
- Editing MCP Tools - Refine and customize your tools
- Testing Your Tools - Verify your tool works correctly
- Publishing Tools - Make your tools available to agents
Test Your Tool
Verify your AI-generated tool works correctly